Hello Dev, We’re going to learn dialog box, dialog layout for android where you can add dialog anywhere. Dialog is very usefull when we need to implement something within the an activity like progress dialog, failed and success dialog, exit dialog. These are some examples but we can use dialog in many ways.
Step to Create Dialog and Implement to Anywhere
1) Create layout which is going to dialog
In this step we need to create layout which will be dialog or we can say inflate where we need it.
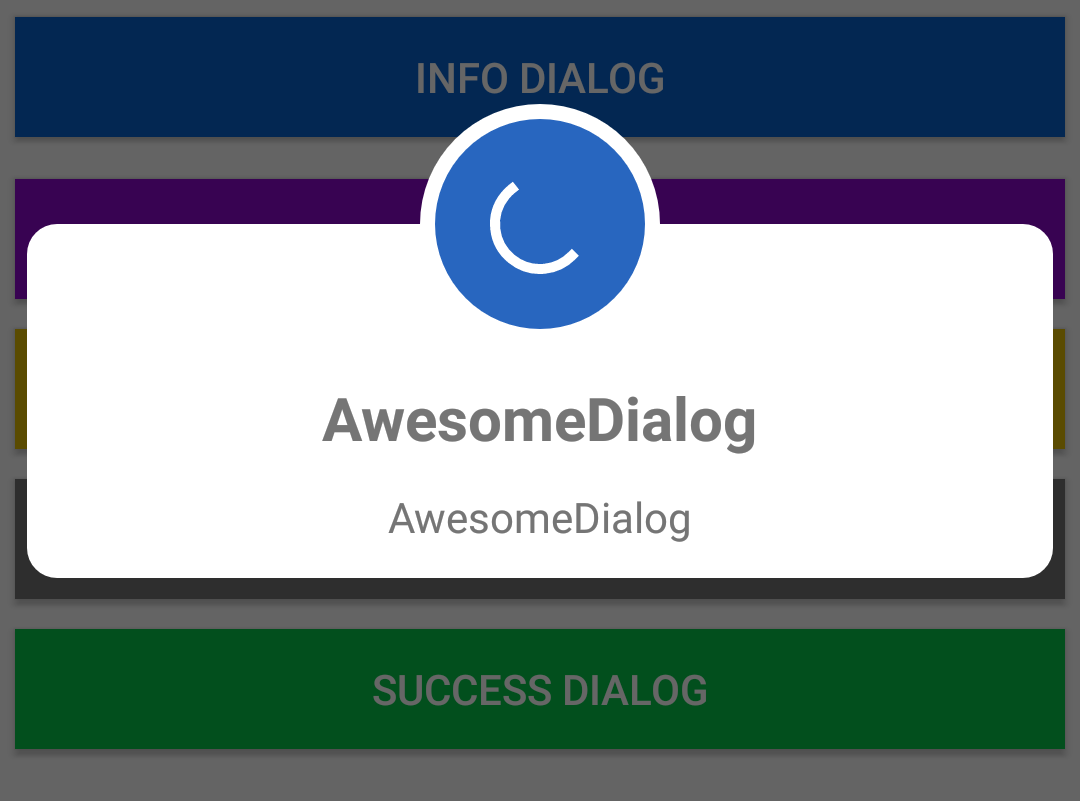
This layout is the dialog appear layout which is created once and whenever we need it we can implement and change response according to our response for example see below two pictures

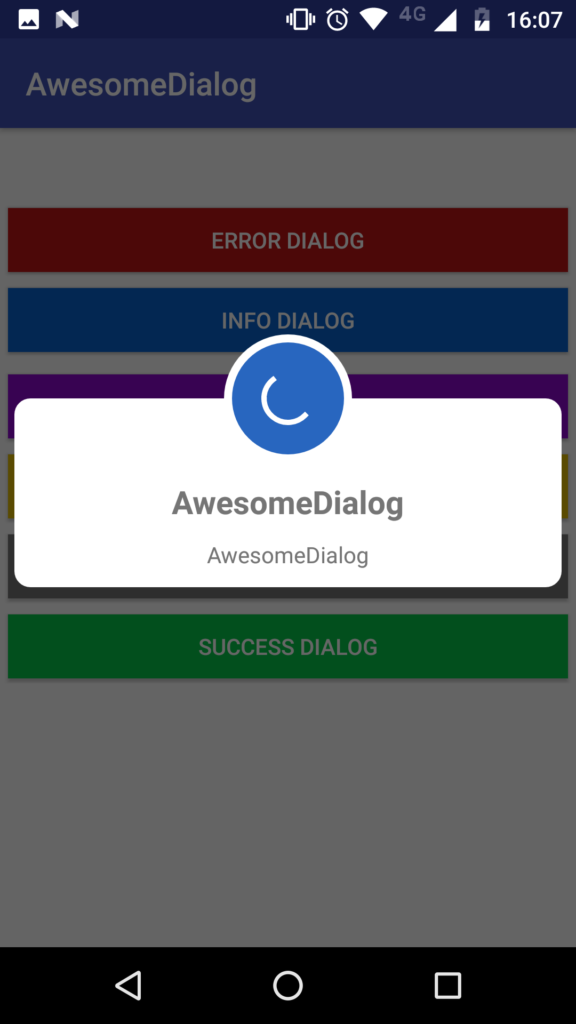
These pictures or just examples you can design layout as per your need
Now you are understand the the basic layout for the dialog.
So now create xml file with any name in your layout folder, for eg: layout/custom_dialog_layout.xml
<?xml version="1.0" encoding="utf-8"?>
<androidx.constraintlayout.widget.ConstraintLayout xmlns:android="http://schemas.android.com/apk/res/android"
    xmlns:app="http://schemas.android.com/apk/res-auto"
    xmlns:tools="http://schemas.android.com/tools"
    android:layout_width="match_parent"
    android:layout_height="wrap_content"
    android:background="@android:color/white">
    <TextView
        android:id="@+id/dialogTitle"
        android:layout_width="wrap_content"
        android:layout_height="wrap_content"
        android:layout_marginStart="8dp"
        android:layout_marginTop="8dp"
        android:layout_marginEnd="8dp"
        android:text="Success/Failed"
        android:textStyle="bold"
        android:textColor="@android:color/black"
        android:textSize="16sp"
        app:layout_constraintEnd_toEndOf="parent"
        app:layout_constraintStart_toStartOf="parent"
        app:layout_constraintTop_toTopOf="parent" />
    <TextView
        android:id="@+id/dialogDescription"
        android:layout_width="0dp"
        android:layout_height="wrap_content"
        android:layout_marginStart="16dp"
        android:textColor="@color/black"
        android:layout_marginEnd="16dp"
        android:text="Write some contents that you can edit with java code"
        android:textAlignment="center"
        app:layout_constraintEnd_toEndOf="parent"
        app:layout_constraintStart_toStartOf="parent"
        app:layout_constraintTop_toBottomOf="@+id/dialogTitle" />
    <View
        android:id="@+id/divider"
        android:layout_width="1dp"
        android:layout_height="0dp"
        app:layout_constraintBottom_toBottomOf="parent"
        app:layout_constraintEnd_toEndOf="parent"
        app:layout_constraintStart_toStartOf="parent"
        app:layout_constraintTop_toBottomOf="@+id/dialogDescription" />
    <Button
        android:id="@+id/btn_cancel"
        android:layout_width="0dp"
        android:layout_height="wrap_content"
        android:layout_marginStart="16dp"
        android:layout_marginTop="16dp"
        android:layout_marginEnd="8dp"
        android:layout_marginBottom="16dp"
        android:background="@android:color/transparent"
        android:stateListAnimator="@null"
        android:text="Cancel"
        android:textAllCaps="false"
        android:textColor="@android:color/holo_blue_dark"
        app:layout_constraintBottom_toBottomOf="parent"
        app:layout_constraintEnd_toStartOf="@+id/divider"
        app:layout_constraintStart_toStartOf="parent"
        app:layout_constraintTop_toBottomOf="@+id/dialogDescription" />
    <Button
        android:id="@+id/btn_okay"
        android:layout_width="0dp"
        android:layout_height="wrap_content"
        android:layout_marginStart="8dp"
        android:layout_marginTop="16dp"
        android:layout_marginEnd="16dp"
        android:layout_marginBottom="16dp"
        android:background="@android:color/transparent"
        android:stateListAnimator="@null"
        android:text="Okay"
        android:textAllCaps="false"
        android:textColor="@android:color/holo_blue_dark"
        app:layout_constraintBottom_toBottomOf="parent"
        app:layout_constraintEnd_toEndOf="parent"
        app:layout_constraintStart_toEndOf="@+id/divider"
        app:layout_constraintTop_toBottomOf="@+id/dialogDescription" />
</androidx.constraintlayout.widget.ConstraintLayout>
You can also design as your need, I am creating this only for shown, So if you want to customize its totally great and absolutely you can.
2) Now add this in Your Activity
For adding you can write these, I am adding this in MainActivity
Dialog dialog;
dialog = new Dialog(MainActivity.this);
dialog.setContentView(R.layout.custom_dialog_layout);
dialog.getWindow().setLayout(700, ViewGroup.LayoutParams.WRAP_CONTENT);
dialog.getWindow().setBackgroundDrawable(getDrawable(R.drawable.custom_dialog_background));
dialog.setCancelable(false);

dialog.getWindow().getAttributes().windowAnimations = R.style.DialogAnimation;
dialog.show();

Button okey = dialog.findViewById(R.id.btn_okay);
Button cancel = dialog.findViewById(R.id.btn_cancel);
dialogTitle = dialog.findViewById(R.id.dialogTitle);
//        dialogTitle.setText("Failed");
dialogDescription = dialog.findViewById(R.id.dialogDescription);
//        dialogDescription.setText(" Sorry! Recharge was not success, try again");
dialogDescription.setText("Congratulations! Your recharge is Success");

okey.setOnClickListener(new View.OnClickListener() {
       @Override
        public void onClick(View v) {
             dialog.dismiss();
             onBackPressed();
            }
        });

cancel.setOnClickListener(v -> {
            Toast.makeText(MainActivity.this, "Cancel", Toast.LENGTH_SHORT).show();
            dialog.dismiss();
        });
Let’s understand line by line: —–
i) In very first line we declared Dialog class
ii) creating object with context
iii) set layout which is going to be dialog(for our case we include custom_dialog_layout )
iv) Now we are giving the layout width and height, we can set as per our wish
v) Set background
vi) We have set cancelable = false, because to freeze the parent layout, if we did not set false then if user click anywhere in parent UI then dialog will be dismiss, it is optional as per your need (optional )
vii) providing animation (optional)
viii In this line we are finding views to operate dialog with cancel and okey button (optional)
ix) (viii) with (optional)
Now all below lines are optional or as per method required, you can skip or apply functionality.
Drawable which is used in dialog to improve look: drawable/custom_dialog_background
<?xml version="1.0" encoding="utf-8"?>
<shape xmlns:android="http://schemas.android.com/apk/res/android"
    android:shape="rectangle">
    <solid android:color="@android:color/white" />
    <corners android:radius="12sp" />
</shape>
Animation which is used in this dialog to improve presentation (R.style.DialogAnimation): add in, values/themes
<style name="DialogAnimation">
        <item name="android:windowEnterAnimation">@android:anim/fade_in</item>
        <item name="android:windowExitAnimation">@android:anim/fade_out</item>
    </style>
Now to show or load dialog use object name along with method which in show(); eg: dialog.show();
To dismiss we can call dismiss method which is in Dialog class; eg: dialog.dismiss();
Now we have implement successfully dialog in android in java.
we can now also handled button which is already initialized with cancel and okey